Why Virtualmin is our choice of web admin panel

We get asked this question a lot, especially by the people who have already been accustomed to using a more familiar control panel, such as cPanel. Why did we settle on using Virtualmin as out web admin panel of choice?

The short answer is that we believe that Virtualmin gives more control. We love to have better control of our systems, and we think our clients deserve to have the ability to control the fine details of their hosted services.

Most web admin panels try to simplify things too much. So much that an advanced client would really feel crippled when they look for some setting and not find it.

We admit that the learning curve of Virtualmin might be a bit steep for a new comer to the web hosting world, this is why we are always happy to assist our clients in configuring their servers and websites while showing them how it is done, so they can do it later on their own, if they so desire.

We also post new tutorials on this site whenever we feel there’s a need for one. See the How To posts: /post/category/howto.
Need assistance? Send us a message!

How to add an admin user to your WordPress using Virtualmin

If you’ve lost access to your WordPress admin account, you can reset their password, or create a new user with admin privileges. Here are the instructions to add an admin user using Virtualmin.

🚑 Quick Instructions

Here are some quick instructions (for the detailed instructions see below):

Run the follwing SQL script under the desired site’s database. Make sure to replace the distinguished text with the desired values, and keep the quotes exactly as shown here.

⭐ Adding a User:

INSERT INTO `wp_users` (`user_login`, `user_pass`, `user_nicename`, `user_email`, `user_status`)
VALUES ('SomeNewUserName', MD5('SomeLongPassPhrase'), 'DisplayNameForUser', 'EmailAddressForNewUser', '0');
INSERT INTO `wp_usermeta` (`umeta_id`, `user_id`, `meta_key`, `meta_value`)
VALUES (NULL, (Select max(id) FROM wp_users), 'wp_capabilities', 'a:1:{s:13:"administrator";s:1:"1";}');
INSERT INTO `wp_usermeta` (`umeta_id`, `user_id`, `meta_key`, `meta_value`)
VALUES (NULL, (Select max(id) FROM wp_users), 'wp_user_level', '10');

⭐ Removing a User:

SET @user_id = (SELECT id FROM wp_users WHERE user_login = 'SomeExistingUserName');
DELETE FROM wp_users WHERE id = @user_id;
DELETE FROM wp_usermeta WHERE user_id = @user_id;

Using the SQL code execution service in Virtualmin is buggy (as of 2023-07-30). The code must be run from a file.

🧾 Detailed Instructions

1. Find the name of your site’s database

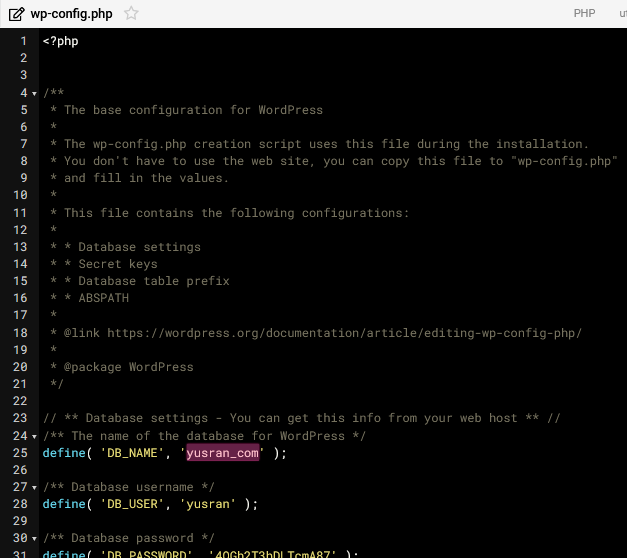
  • Using Virtualmin’s File Manager, or SSH (if you prefer SSH), locate the file wp-config.php, and view its contents to see what’s the database name.

2. Run the SQL query

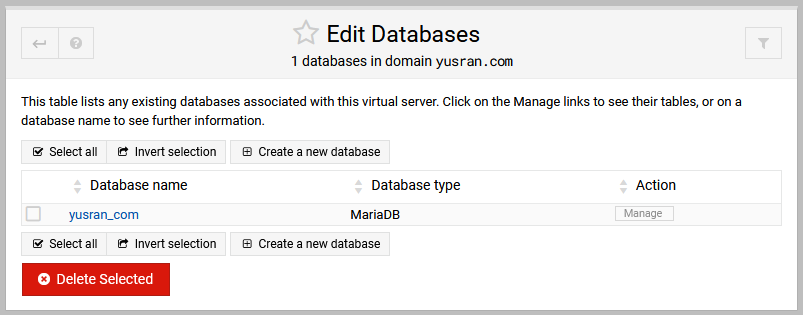
  • Head over to the Database Editor, and click the button titled Manage next to the database you found in the previous step.
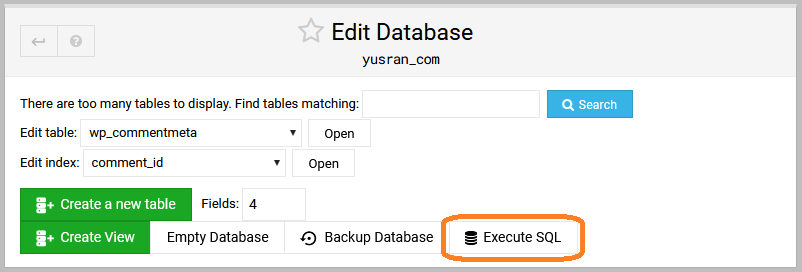
  • On the next page, click the button Excute SQL.
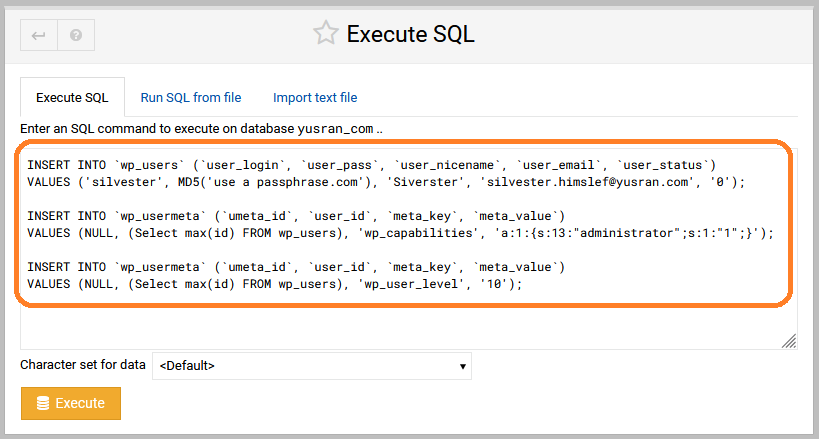
  • Enter the SQL query, change the values to the information of new user you want to add (or delete).
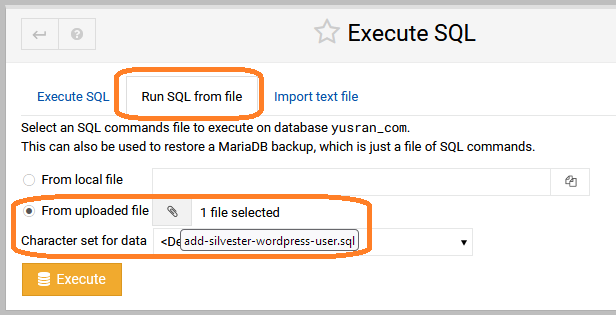
  • Alternatively, switch to the section titled Run SQL from file, and upload a text file that contains your query.
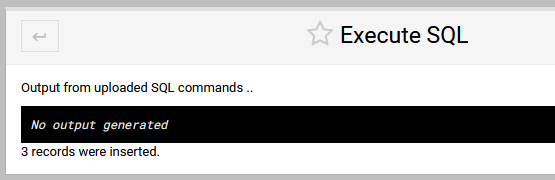
  • Click Execute. And you’re good to go.
    The result would look something like this:

3. Test it out

  • If you’ve added a new user, now would be a good time to head over to your WordPress login page to try the new user.
    The wordpress login screen is usually located at an address like: https://www.example.com/wp-login.php